

Rust Server Admin Commands and Setup Guide
Running a Rust server comes down to a few jobs: setting the server up so it shows well in the browser, giving yourself admin rights, knowing the commands you will actually use, adding plugins, and wiping on a schedule your players can rely on. This guide covers each of them.
On this page (6 sections)
Commands below can be typed in the Game Hosting Panel console, over RCON, or in the in-game F1 console once you are an admin.
Where Rust keeps its settings
Everything for one server lives in server/<identity>/, where the identity is a folder name set at startup (often rust). Inside it:
cfg/server.cfg: settings the server runs every time it starts.cfg/users.cfg: owners and moderators, written byserver.writecfg.cfg/bans.cfg: banned players.*.mapand*.savfiles: the current map and world save.player.blueprints.*.dband otherplayer.*.dbfiles: player blueprints and data.
Core options such as server name, max players, world size, seed and the RCON password are normally startup options in the Game Hosting Panel: click Advanced tools at the bottom of the sidebar and open Startup. Put everything else in server.cfg, one setting per line:
server.description "Vanilla monthly. Max group 4.\nWipes first Thursday."
server.url "https://discord.gg/your-invite"
server.headerimage "https://example.com/banner.png"
server.tags "monthly,vanilla"
server.saveinterval 300
decay.scale 1server.headerimagemust be a direct link to an image (512 x 256 works well); it shows at the top of your listing.server.tagstells the server browser your wipe schedule and style, for exampleweekly,biweekly,monthly,vanillaorpve.- Changing
server.seedorserver.worldsizegenerates a new map, which means a map wipe.
Make yourself owner or moderator
- Find your Steam64 ID (a 17-digit number starting with 7656). If you are connected,
statusin the console lists every player with their ID. - In the panel console, run
owneridwith your ID, name and a reason. - Run
server.writecfgso it is saved tousers.cfgand survives restarts. - Disconnect and reconnect to the server so the new rights apply.
ownerid 76561198000000000 "YourName" "Server owner"
moderatorid 76561198000000001 "TrustedMod" "Moderator"
server.writecfg

removeowner 76561198000000000
removemoderator 76561198000000001
Owners (auth level 2) can use every admin command. Moderators (auth level 1) can kick and ban but cannot use owner-only commands. Give out owner sparingly.
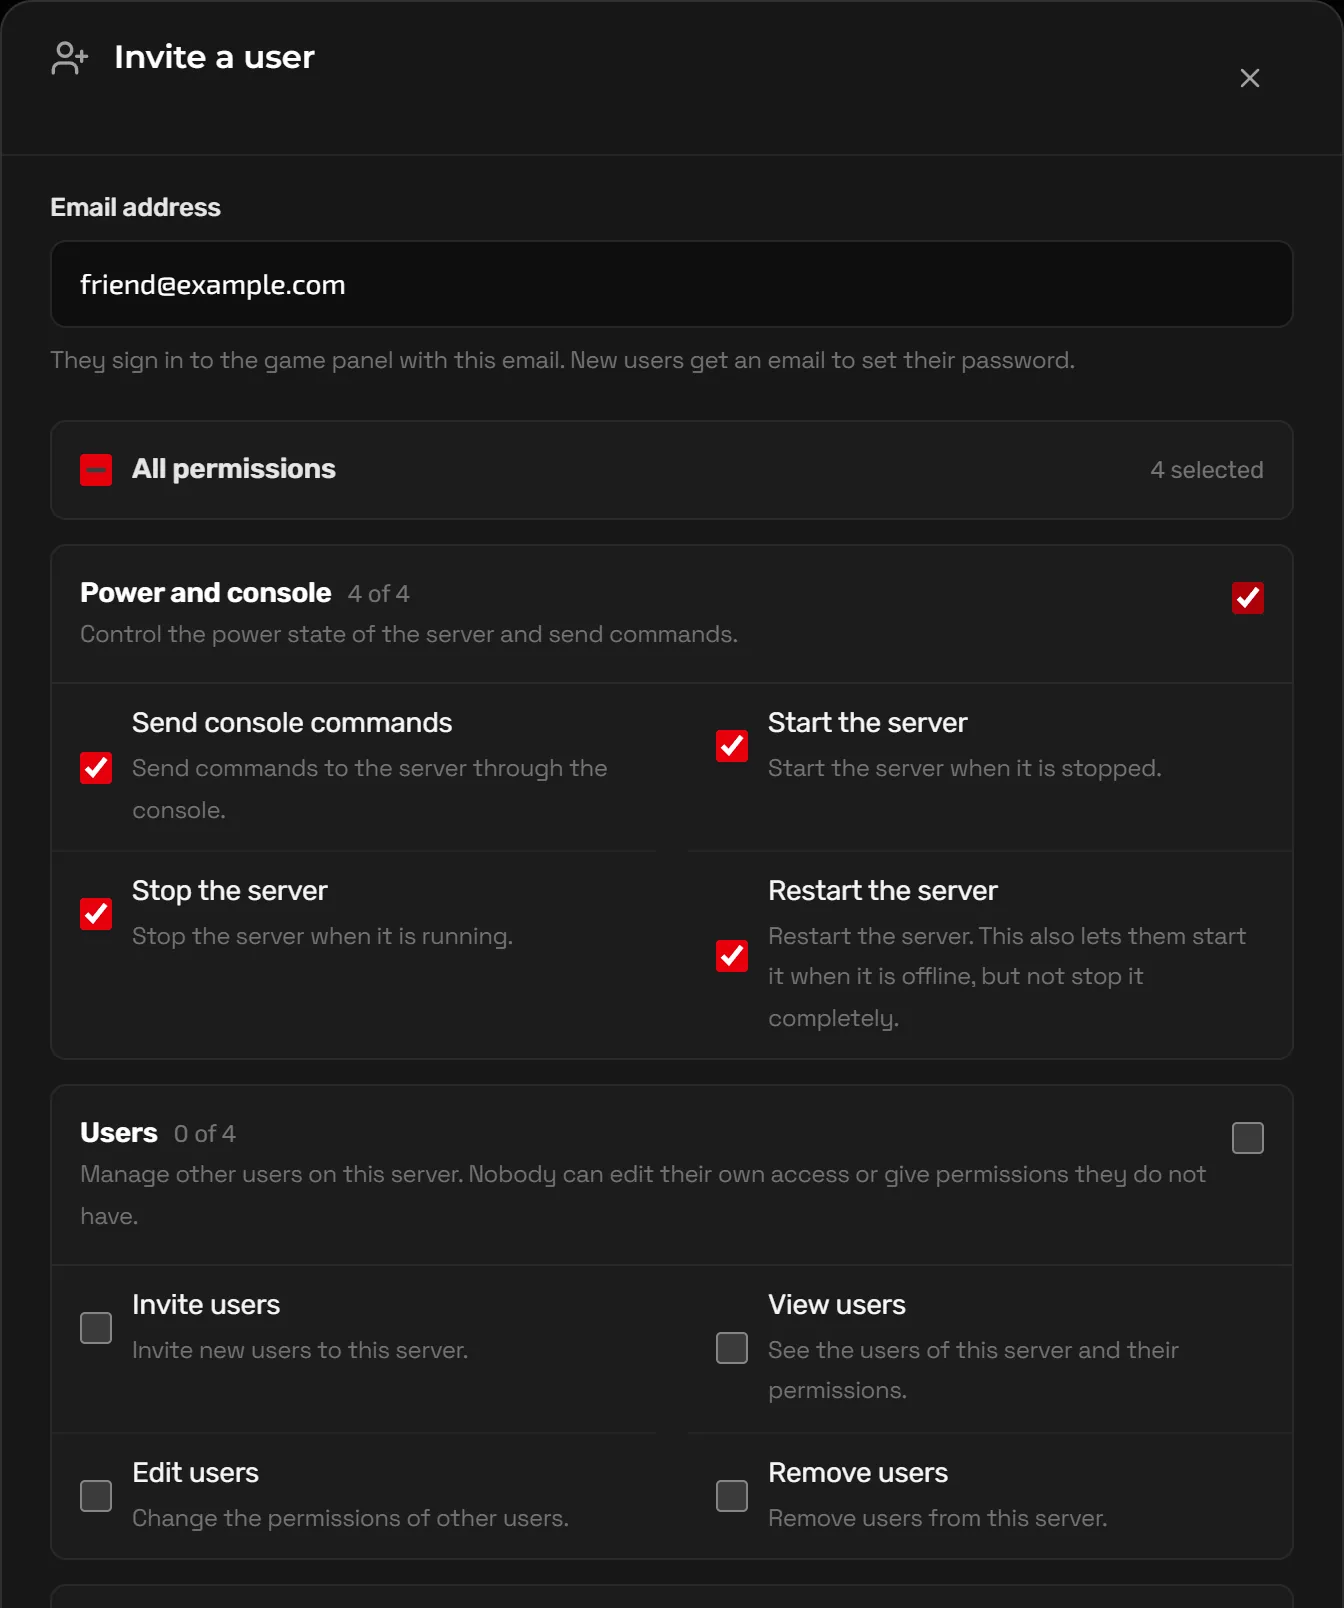
In-game rights are separate from the Game Hosting Panel. To let a co-admin restart the server or use the console without your login, click Advanced tools at the bottom of the sidebar, open Users and invite them with only the permissions they need.
Admin commands you will actually use
Players and moderation
status                              players online with Steam IDs
kick "PlayerName" "reason"
ban "PlayerName" "reason"
banid 76561198000000000 "PlayerName" "reason"   ban someone offline
unban 76561198000000000
banlistex                           bans with reasons
say "Server restarting in 5 minutes"
Admin tools in game
noclip                              fly through walls (toggle)
god true                            invulnerable; god false to turn off
debugcamera                         free camera (toggle)
teleport "PlayerName"               go to a player
teleport2me "PlayerName"            bring a player to you
inventory.giveto "PlayerName" "wood" 1000
Server control
server.save                         save the world now
server.writecfg                     save owner, moderator and ban lists
restart 300 "Scheduled restart"     restart after a 5-minute countdown
env.time 12                         set time to noon
quit                                save and shut down
Tip: Players notice admins flying or taking no damage during PvP. To keep trust, many communities use a separate admin account and only use these tools to investigate reports.
Plugins with Oxide (uMod) or Carbon
Vanilla Rust has no plugin support. Plugins need a modding framework, and your server can run only one: Oxide (distributed through uMod) or Carbon, which loads most Oxide plugins. NEXUS lists uMod/Oxide support for Rust; if you want Carbon, check the Startup page (Advanced view) for a framework option or ask support.
- Download a plugin (a
.csfile) from uMod or another trusted source. - Upload it to
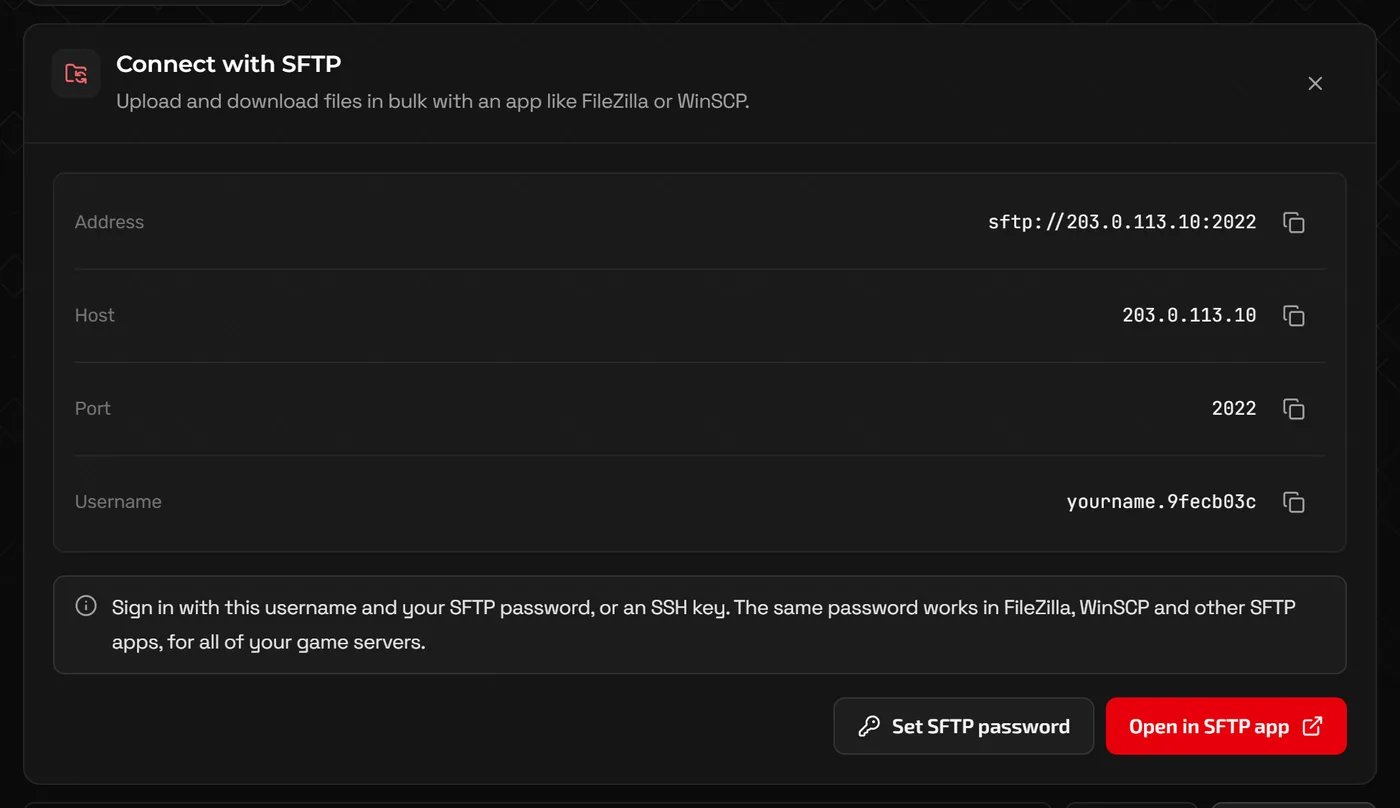
oxide/plugins/(orcarbon/plugins/on Carbon) with Files, or over SFTP for several at once. The framework loads it automatically within a few seconds. - Edit its settings in
oxide/config/<PluginName>.json(Carbon:carbon/configs/), then reload it. - Grant permissions so players or groups can use the plugin's commands.
oxide.plugins                                   list loaded plugins
oxide.reload PluginName                         reload after editing config
oxide.grant group default pluginname.use        everyone gets a permission
oxide.grant user "PlayerName" pluginname.admin  one player gets a permission
oxide.revoke user "PlayerName" pluginname.admin
oxide.group add vip
oxide.usergroup add "PlayerName" vip
On Carbon the equivalents start with c., for example c.plugins, c.reload PluginName and c.grant. Permission names come from each plugin's page.
Warning: Rust updates replace the files the framework hooks into. After a Facepunch update, the server needs the matching Oxide or Carbon release too; if plugins stop loading after an update, a new framework build is usually on its way within hours.
Wipes: map, blueprint and forced
Facepunch releases a Rust update on the first Thursday of every month, and every server must wipe its map then. That is the forced wipe. Blueprint wipes are only forced occasionally, when Facepunch announces them. Between forced wipes, you choose your own schedule (weekly, biweekly or monthly are common) and should list it in server.tags and your description.
Wiping by hand
- Warn players with
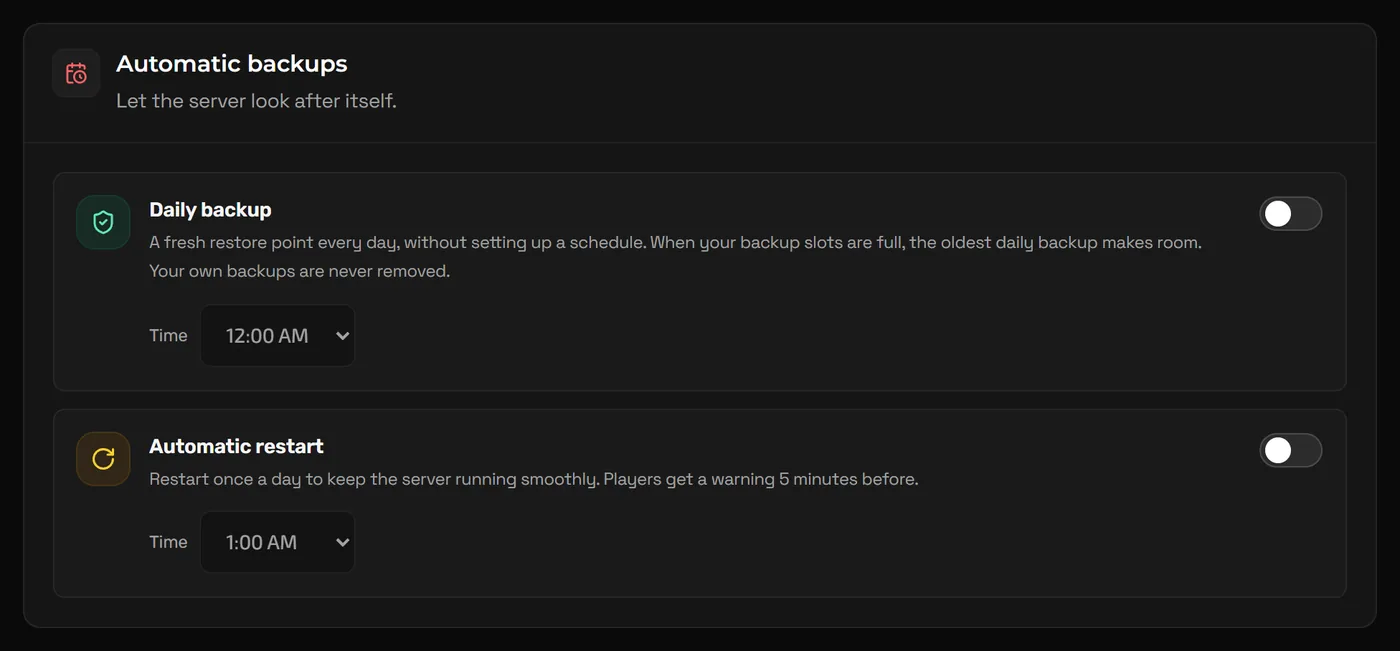
say, then stop the server from the panel. - Click Create backup on the Backups page.
- In
server/<identity>/, delete the.mapfile and every.savfile (including numbered ones like.sav.1). That is a map wipe. - For a blueprint wipe as well, also delete the
player.blueprints.*.dbfiles. - Optionally change the seed on Startup (Advanced view) for a new map, then start the server.
- Keep the
cfgfolder. It holds your owners, moderators and bans. - Some plugins keep per-wipe data in
oxide/data; check their pages for anything to clear. - The Rust page lists automatic wipes as a NEXUS feature; contact support to confirm the schedule you want is set up on your server.
FAQ
Why do my admin commands say "no permission"?
The ownerid was not saved or you have not reconnected. Run server.writecfg, check your ID is in users.cfg, then reconnect.
Can I run a custom map?
Yes. Custom maps are loaded from a direct download link set as the level URL at startup. Look for a map or level URL option on Startup in the Game Hosting Panel (Advanced view), or ask support to configure it.
How do I connect to my server quickly?
Press F1 in Rust and type client.connect IP:port using the address shown on the Home page of the panel.
Does a forced wipe delete plugins?
No. Plugins, their configs and your cfg folder stay in place. Only the map and save are replaced, plus blueprints when Facepunch forces a blueprint wipe.
Related guides
ARK: Survival Ascended Server Settings (GameUserSettings.ini and Game.ini)
GameUserSettings.ini vs Game.ini, rates and difficulty, breeding multipliers, admin access and adding CurseForge mods.
Project Zomboid Server Settings and Workshop Mods
The three config files, the settings worth changing, adding Workshop mods and maps correctly, and admin access levels.
How to Make a Minecraft Server to Play With Friends
Java or Bedrock, how much RAM you need, the server.properties settings that matter, ops and whitelists, and how friends connect.